Four Cookie Recipes to Celebrate Valentine's
Yoga Week!
Long Lost Quinoa Cookies
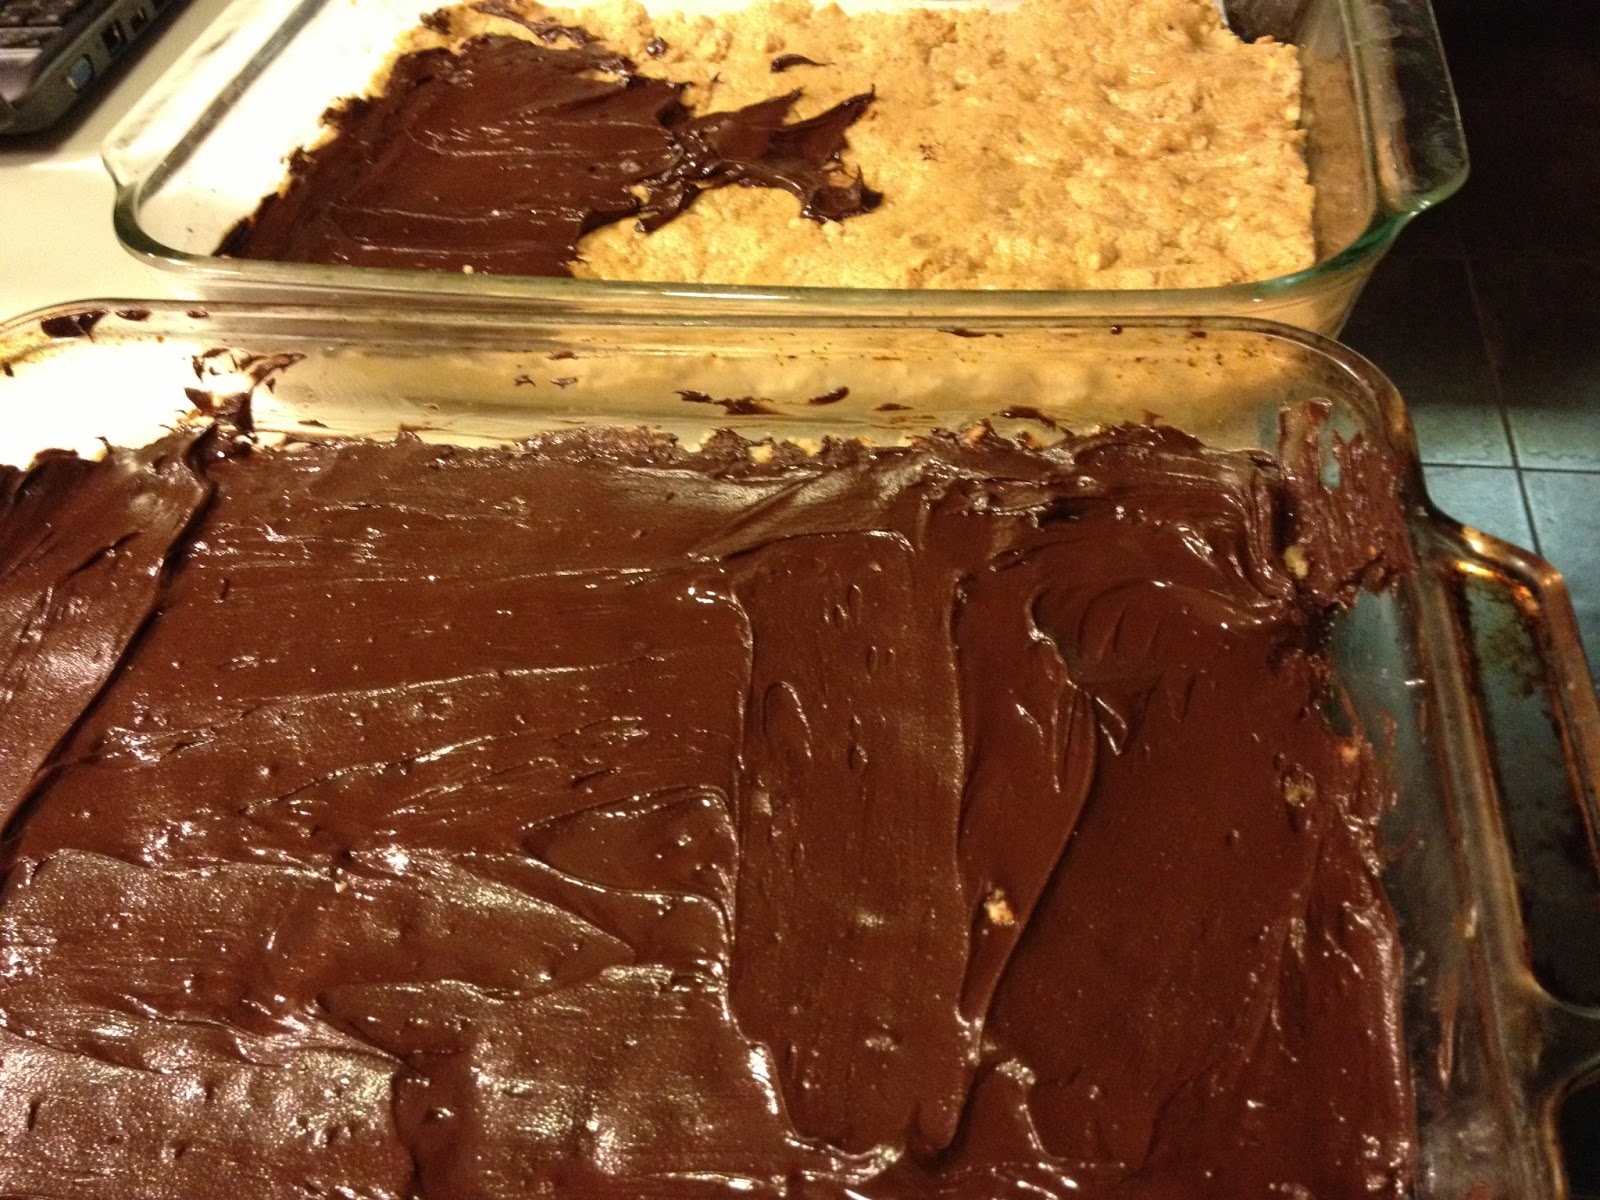
Chocolate Peanut Butter Bars
Mexican Wedding Cakes
Chocolate Chip Mint Cookies
I've been absent from the world of blogging for the past month. My apologies! I'm back.
During Valentine's week I decided to make each of my yoga classes a vegan cookie treat. On Monday we had Long Lost Quinoa cookies which are a delicious gluten free almond, quinoa flake, jam thumbprint cookie. On Tuesday and Wednesday we had chocolate peanut butter bars (and as far as I can tell, these are gluten free too). On Friday we had Mexican wedding cakes because my daughter requested this cookie during the cookie fest week. On Saturday we had Chocolate Chip Mint Cookies.
Even though I bake vegan desserts I have to confess that they are full of fat and sugar. I used an entire large tub of Earth Balance during this week long extravaganza baking event, lots of white and brown sugar, several bags of vegan chocolate chips, a huge container of peanut butter, and other goodies that we might not eat every day or our lives. It's a "treat" - a sweet yummy treat to be eaten in moderation. This is why I bake for others... I am not moderate and a plate of cookies is my worst enemy in the kitchen. I was so glad to be able to bake and share.
My students seemed to like each and every cookie I baked and I am so pleased that I could show my love and gratitude by feeding them a sweet treat. The funniest thing I heard the following week, and more than once, was "What, no cookies this week?" Some of you were kind enough to tell me I should open a bakery. Many of you told me which cookie was your favorite.
I think making cookies is pretty easy. For me, the hard part comes in telling whether they are truly done or not and I sometimes find myself cooking cookies just a wee bit too long. It's like Goldilocks finding the "just right" bowl of porridge - every second under or over seems to count. I am going to keep working on it so that the baking part of cookies becomes easier... and I have no interest in opening a bakery. I'm happy to just cook cookies for fun and enjoyment!
Here are the recipes I promised each and every one of you. Enjoy!
Long Lost Quinoa Cookies
1 cup quinoa flakes
1 1/4 cup raw almonds
1/2 cup rice flour
1/2 cup canola oil
1/2 cup maple syrup
1 tablespoon almond extract
1/8 teaspoon salt
jam for the thumbprint portion
1. Heat oven to 300 degrees
2. Toast quinoa flakes in the oven for 6 - 10 minutes, removing from the oven every 2 minutes to stir . You will know when they are done because they smell fragrant and turn a slight shade darker. Don't leave them unattended or they will burn!
3. Remove quinoa flakes from the oven and transfer to a plate to cool.
4. Spread the almonds in a think layer on the baking sheet. Toast and cool the almonds using the same procedure as the quinoa flakes. Watch your almonds - it is an expensive bummer to burn them! Take them out to cool on a plate.
5. Turn the oven up to 350.
6. Whisk the maple syrup, oil, almond extract and salt together in a small bowl and set aside.
7. When the quinoa flakes and almonds are cool, grind them in a food processor until meal-like.
8. Whisk the flour with the quinoa flake and almond meal mixture in a large bowl.
9. Pour the wet mixture into the dry and stir until well combined.
10. Portion the dough into tablespoon sized balls on the baking sheet. Create an indent with your finger and fill with your favorite jam (about 1/8 - 1/2 teaspoon)
11. Bake for 10 - 13 minutes. Cookies should be slightly browned on the underside but not too brown on top. When you check them, smell them... it is clear if they are burning.
12. Transfer with a spatula immediately to a cooling rack. Be careful, they sometimes fall apart.
Some Notes:
----- You can buy quinoa flakes in the oatmeal/cereal section of most health food stores
----- Don't be surprised if the dough feels very wet when you form the cookies
----- My favorite jam is from my friend, Laurie, who makes her own and sells it. Here's the link:
http://laurieslittlekitchen.blogspot.com/p/lauries-little-store.html
----- Really watch your toasting of quinoa and almonds. I have also used my iron frying pan on the stove top to do the toasting. It is more visual and I tend to stay on top of it and not become distracted and forget that I am toasting something that will burn!
----- You can use whatever flour you like, but for gluten free cooking you want to be very careful in your flour choice
----- This recipe is from my friend and student, Kristin. Her baking website is:
http://kricketcakes.com/
Peanut Butter Chocolate Bars
This recipe comes directly from:
The Joy Of Vegan Baking by Colleen Patrick-Goudreau
2 cups crispy rice cereal, crushed
1 1/2 cups natural peanut butter
2 cups confectioner's sugar
1/2 cup plus 2 tablespoons non-dairy butter like Earth Balance
1 tsp vanilla extract
1/2 cup semisweet vegan chocolate chips
1. Generously "butter" a 9 x 13-inch baking pan.
2. Put cereal in a large heavy duty plastic bag and crush with a rolling pin.
4. Press the mixture into a prepared baking pan.
5. In a small saucepan (or double boiler) melt together the chocolate chips and remaining 2 tablespoons margarine, stirring constantly. Remove from the heat.
6. Spread the chocolate mixture over the top of the peanut butter mixture. Set aside for 1 - 2 hours to set.
Some notes:
----- I used Earth Balance as my vegan"butter"
----- I used brown rice crispy cereal (as if that would somehow redeem this amazingly sweet dense treat into something healthy!)
----- I had to melt more chocolate for complete coverage
----- This was an amazing "no bake" cookie bar experience. I thought they were really sweet and when I make them again I might use a bit less confectioner's sugar. These cookies were my second favorite of the week. They kept well for a few days, too.
Mexican Wedding Cookies
This recipe comes directly from:
The Joy Of Vegan Baking by Colleen Patrick-Goudreau
I have no photo to accompany this recipe. Remember those delicious nutty dough balls covered in white powdered sugar? These are them.
1 cup vegan margarine
1/4 cup granulated sugar
2 teaspoons vanilla extract
2 cups unbleached all-purpose flour, sifted
2 cups raw pecans, finely chopped
2 cups confectioner's sugar, sifted
1. Preheat the oven to 300 degrees
2. Line baking sheets with parchment paper or use non-stick baking sheets.
3. With an electric hand mixer, cream the vegan margarine, granulated sugar, and vanilla until light and fluffy. 1 - 2 minutes. Add the flour, and mix until thoroughly combined. Add the chopped nuts and mix until well blended, about 30 seconds.
4. Measure out generously rounded teaspoons of dough and roll them into balls. Place the balls about one inch apart on the baking sheets. Bake until they just begin to turn golden, about 30 minutes. To test for doneness, remove one cookie from the sheet and cut in half. There should be no doughy strip in the center.
5. Roll the cookies in confectioner's sugar while still warm.
Some notes:
----- I think I cooked these a bit long. When you cut one open you will see that the center is slightly different than the edge. Don't overcook after that.
----- I used my big stand mixer and it was fine. I did cream the margarine, sugar, and vanilla for a bit but was careful not to overdo the flour or nut addition.
----- I say use pecans if you can afford it. Walnuts will suffice but pecans have a richness that these little "cakes' adore.
Chocolate Chip Mint Cookies
This recipe comes directly from:
The Joy Of Vegan Baking by Colleen Patrick-Goudreau
THESE ARE MY NEW FAVORITE COOKIE OF ALL TIME!!!
I love chocolate and I love mint so what can I say?
1 1/2 teaspoons Ener-G Egg Replacer (equivalent of one egg)
2 tablespoons water
1/4 cup vegan margarine
1/2 cup firmly packed brown sugar
1/2 cup granulated sugar
1 teaspoon vanilla extract
1/2 teaspoon peppermint extract
1 1/2 cups unbleached all-purpose flour
1/4 cup unsweetened cocoa
1 teaspoon baking soda
1/4 teaspoon salt
1 cup vegan chocolate chips
1. Preheat the oven to 350 degrees. Line 2 cookie sheets with parchment paper or use non-stick baking sheets.
2. Whip together the egg replacer and water until it's thick and creamy. Set aside.
3. Cream the margarine and sugars together by hand or with an electric mixer at high speed. Beat in the egg replacer mixture and the vanilla and peppermint extracts.
4. In a separate bowl, combine the flour, cocoa, baking powder, and salt. Add this to the margarine mixture. Add the chocolate chips. Stir/mix well until combined but do not over mix/stir.
Some notes:
----- Ener-G egg replacer is a product in a box that you can buy from most health food stores. It is a binding product made of things like potato starch and tapioca.
----- I have made these cookies 3 times now. Be really careful with how long you bake them. They will be pretty soft on the top when you take them out. They are pretty gooey while hot but will stiffen up a bit as they cool. If you cook too long you get really hard crunchy cookies. I think this particular cookie is best a bit soft.
----- I used high quality organic baking cocoa. I think it's worth it.
----- I might try using a bit more peppermint extract. I like the mint and it is not at all overpowering by using only 1/2 teaspoon.
-